|
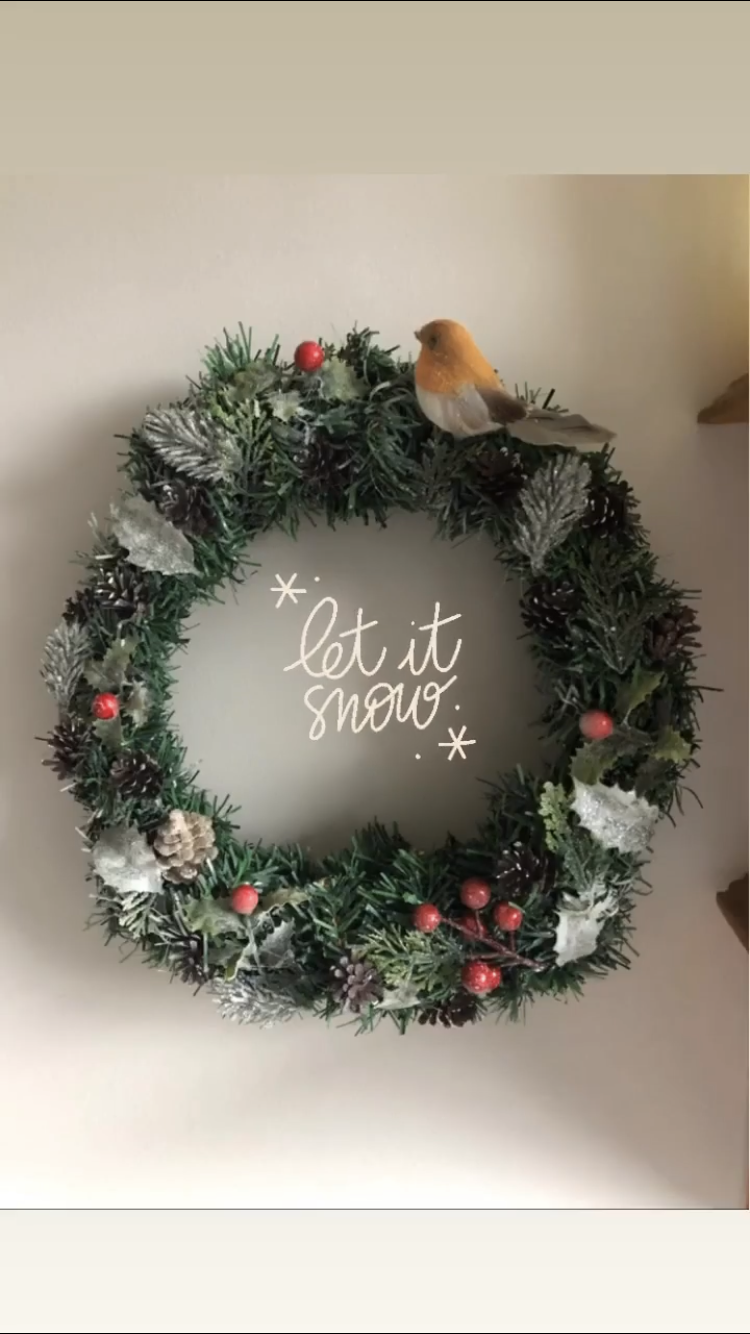
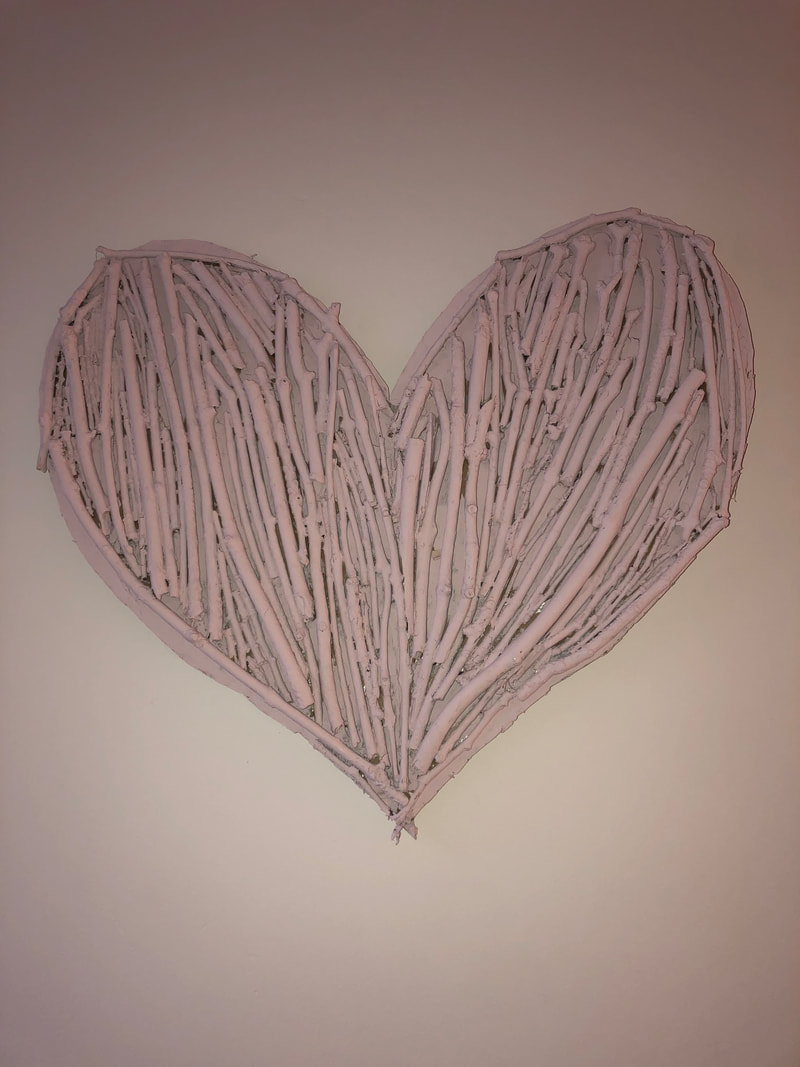
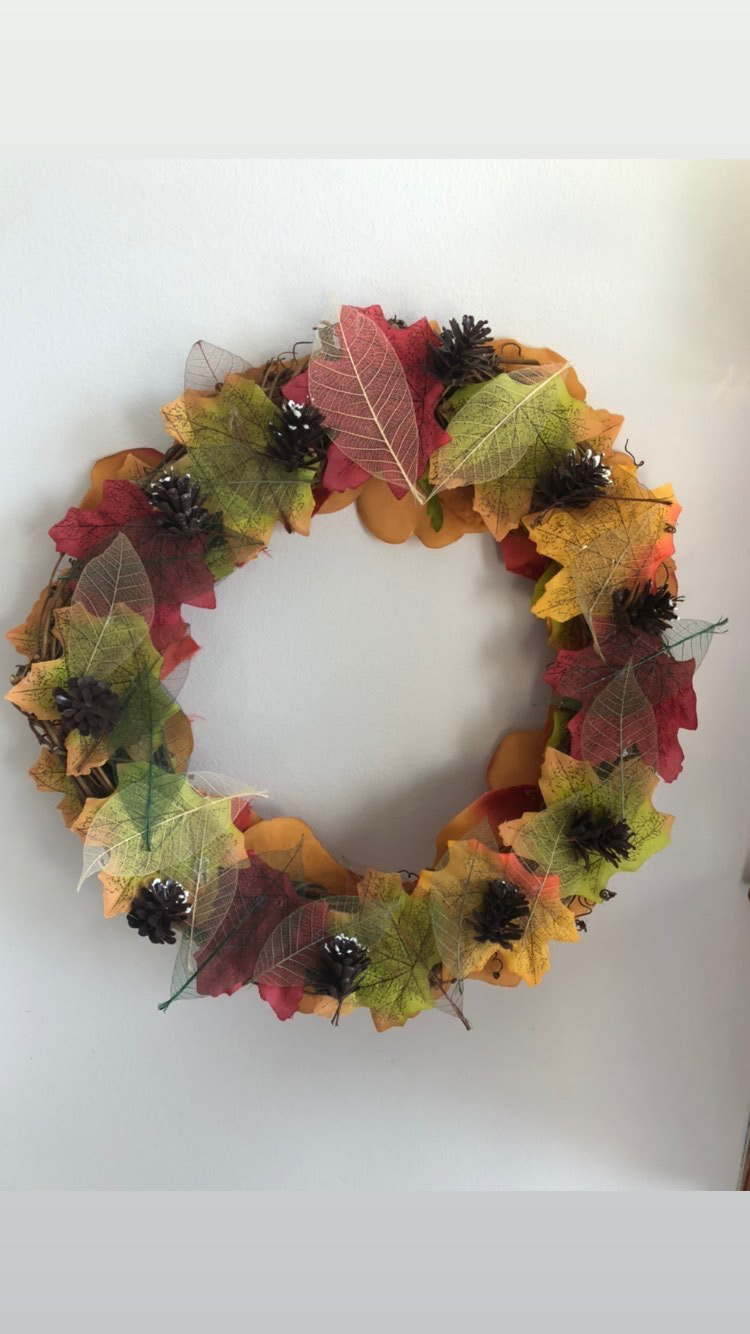
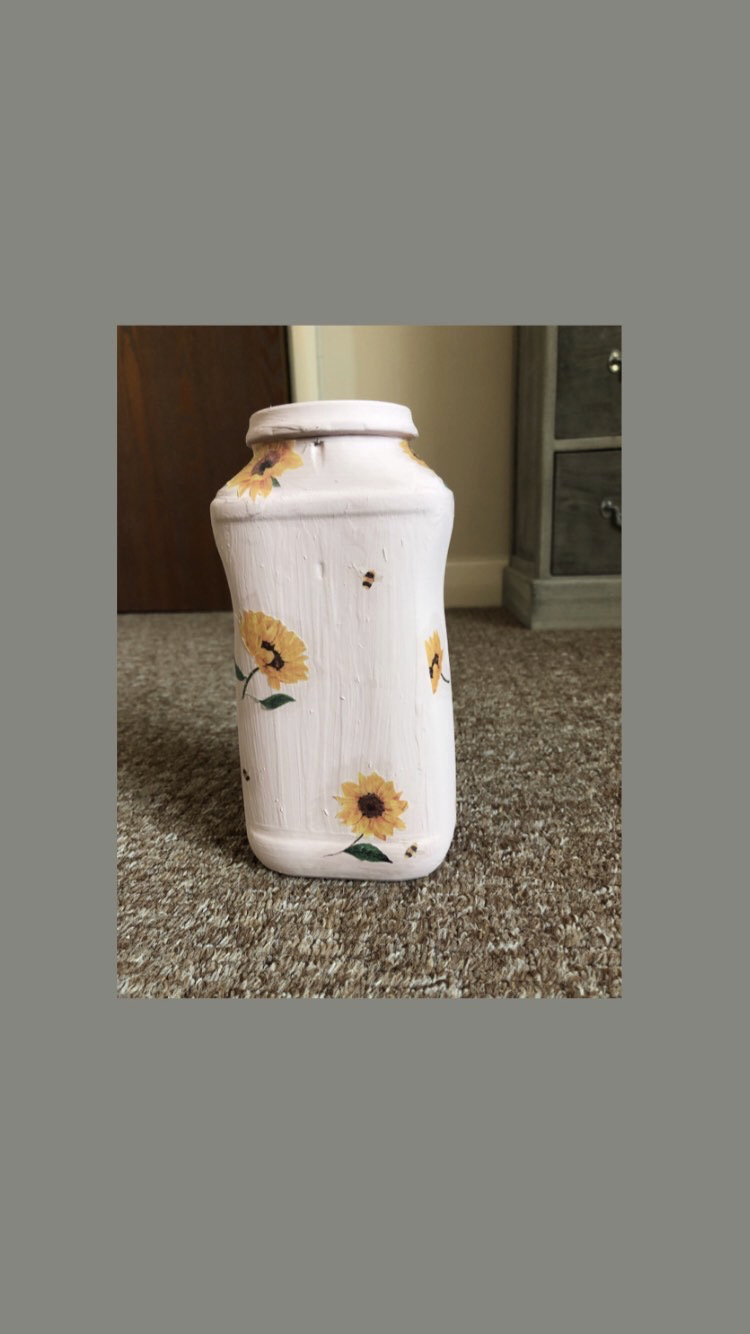
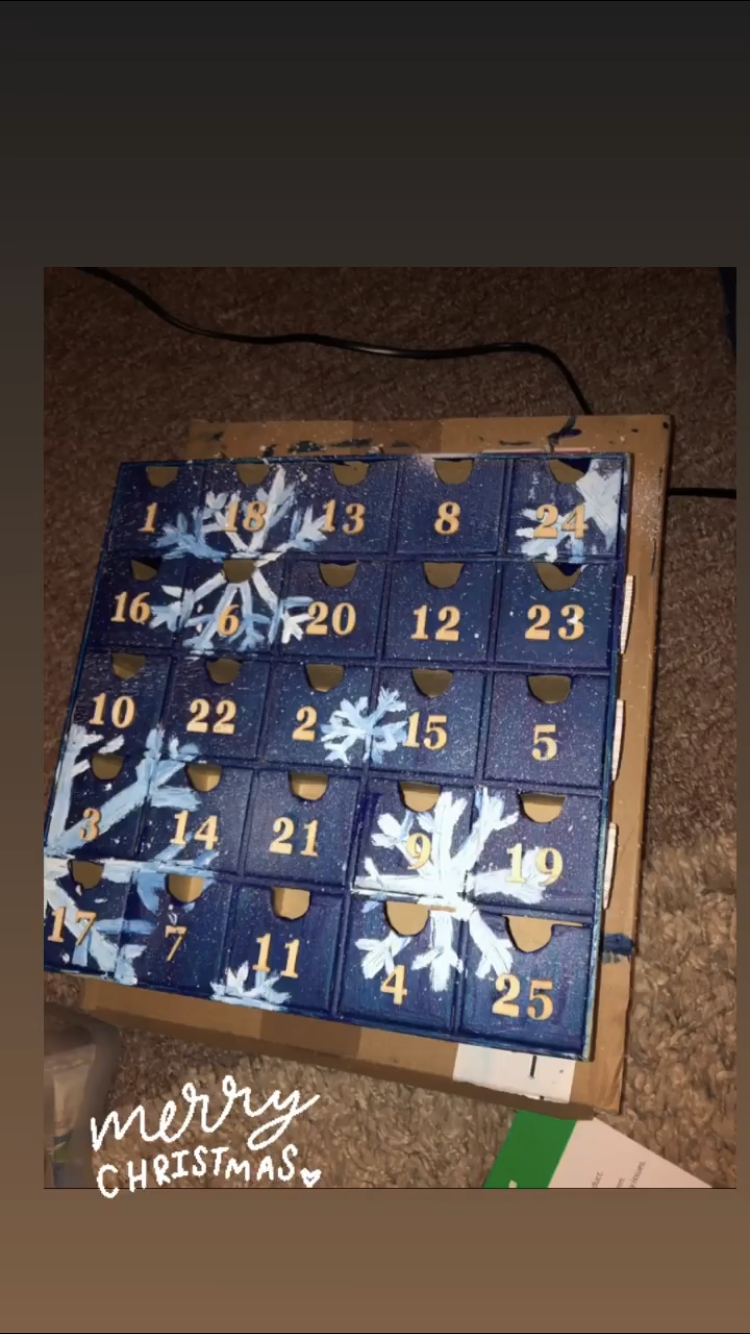
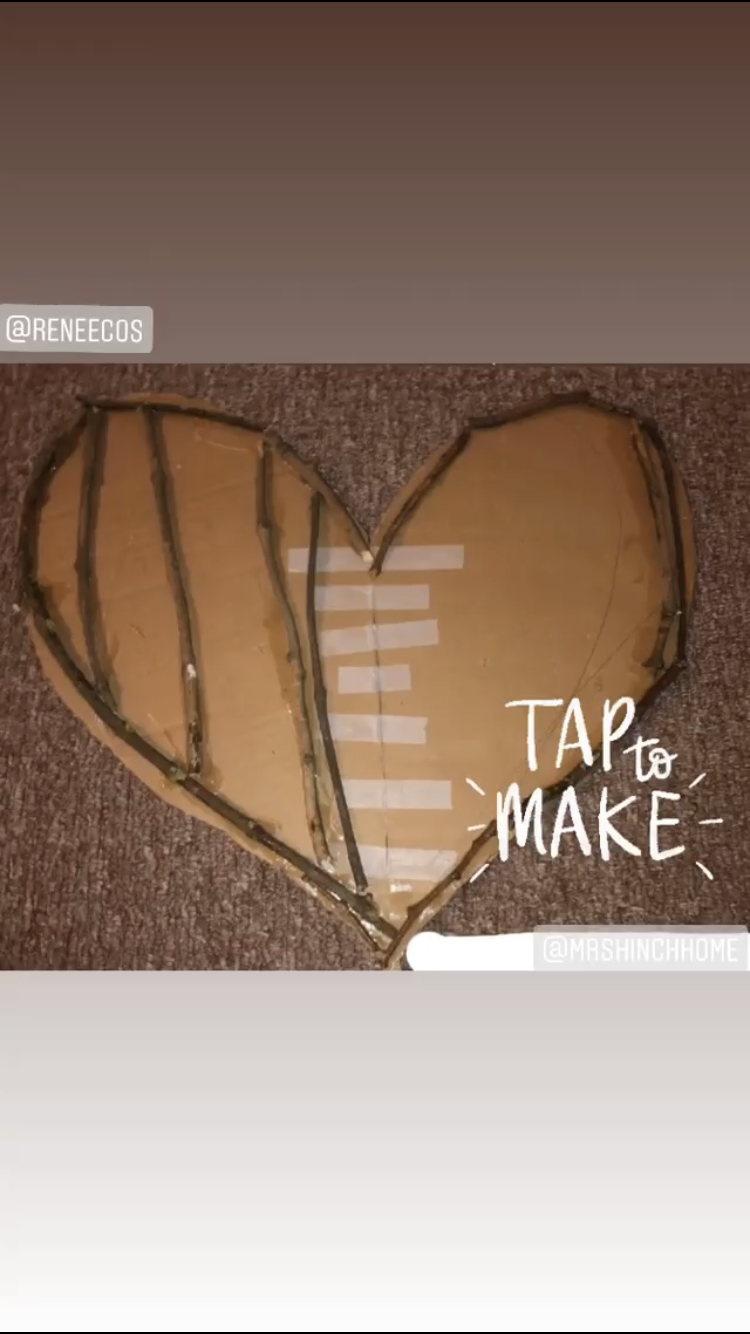
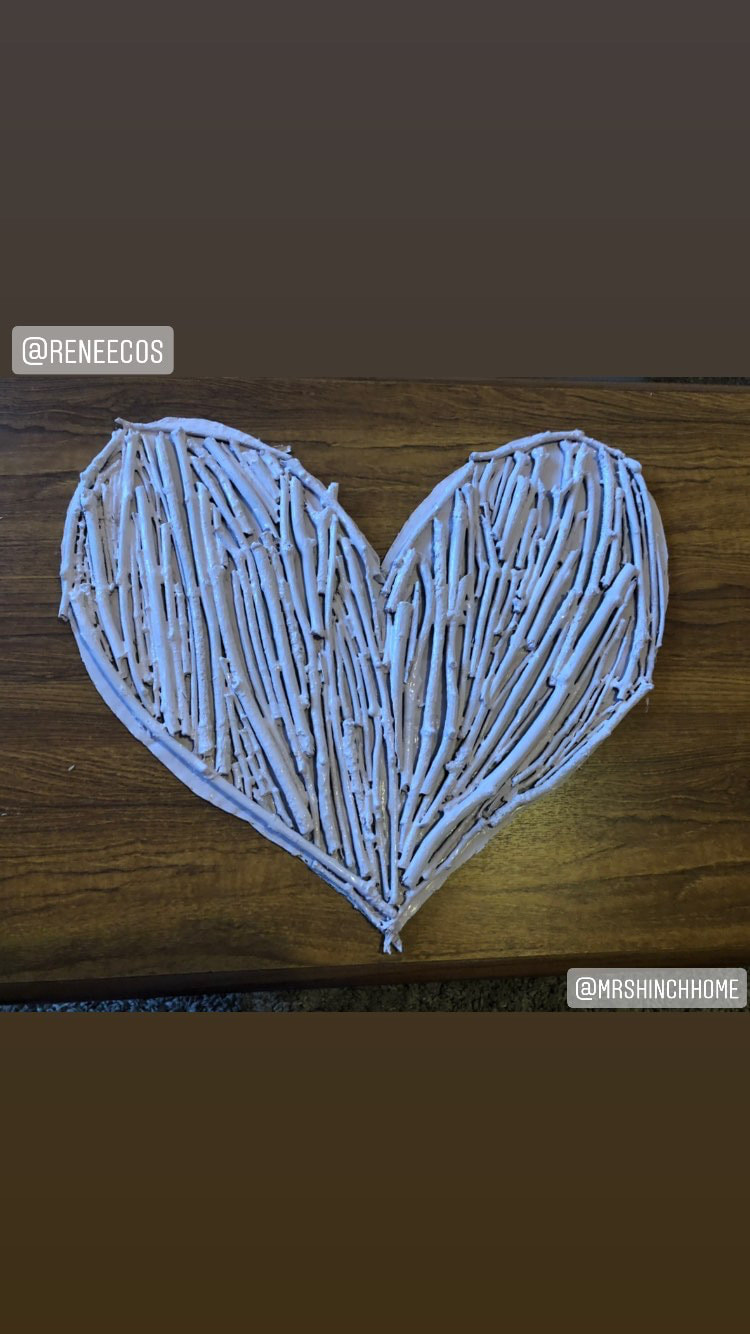
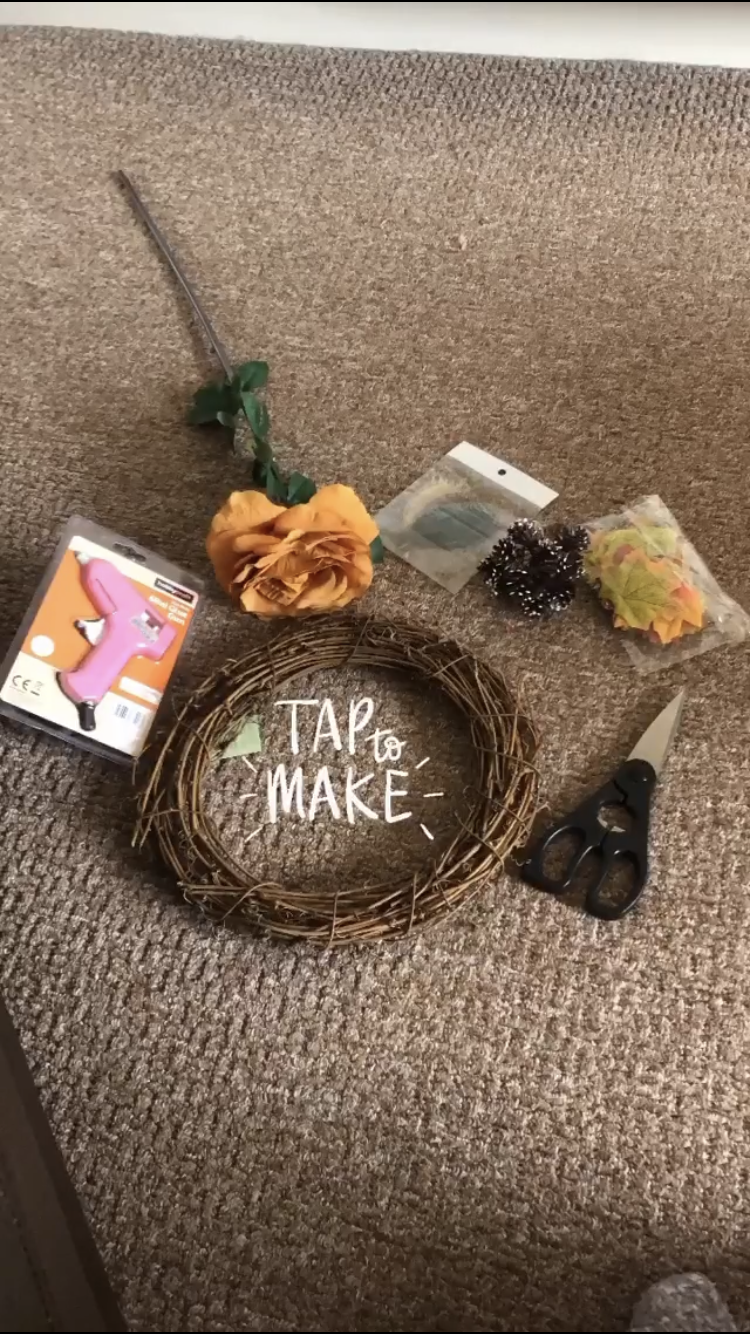
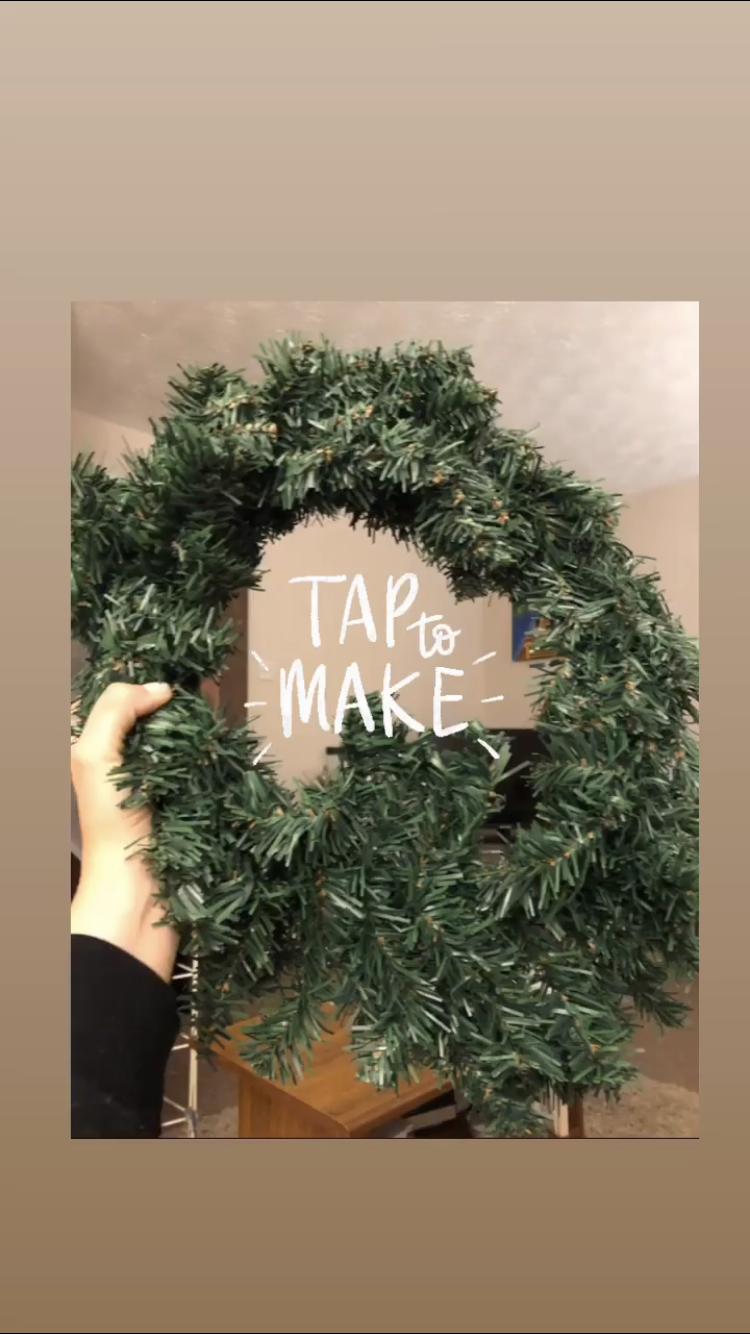
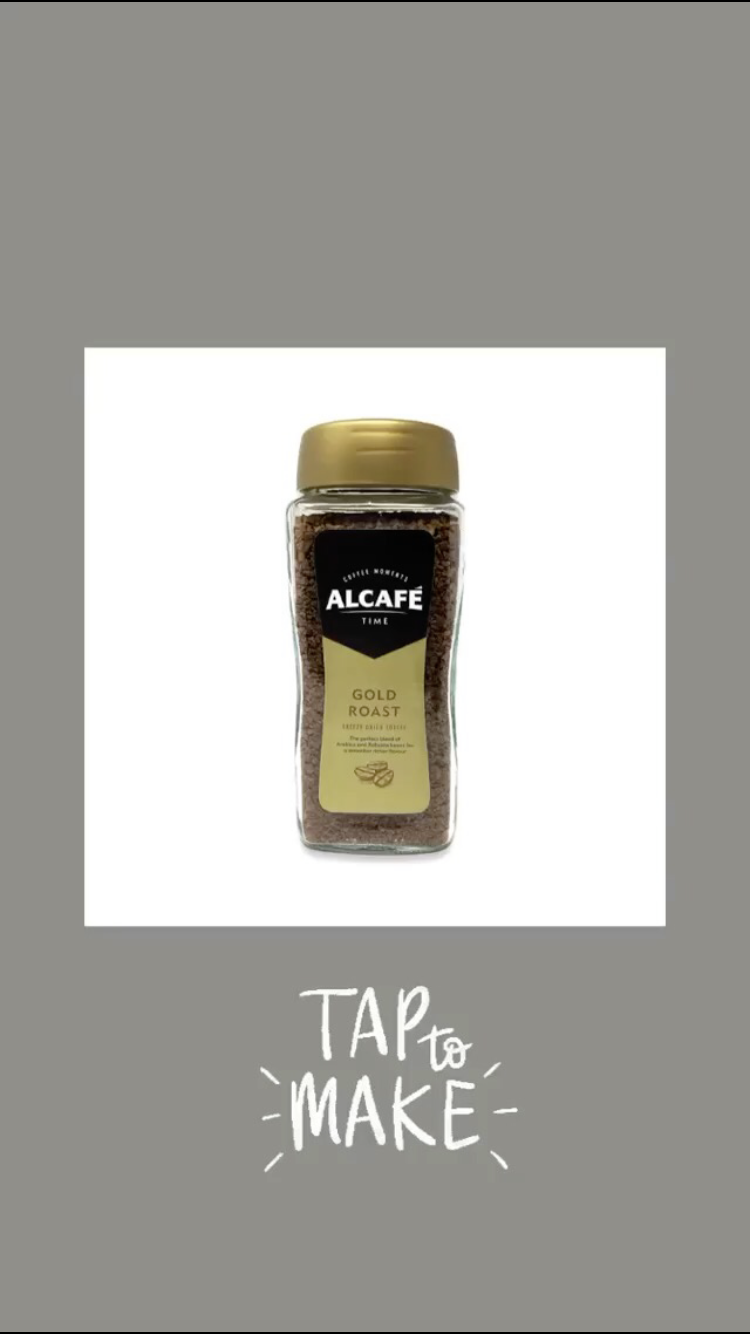
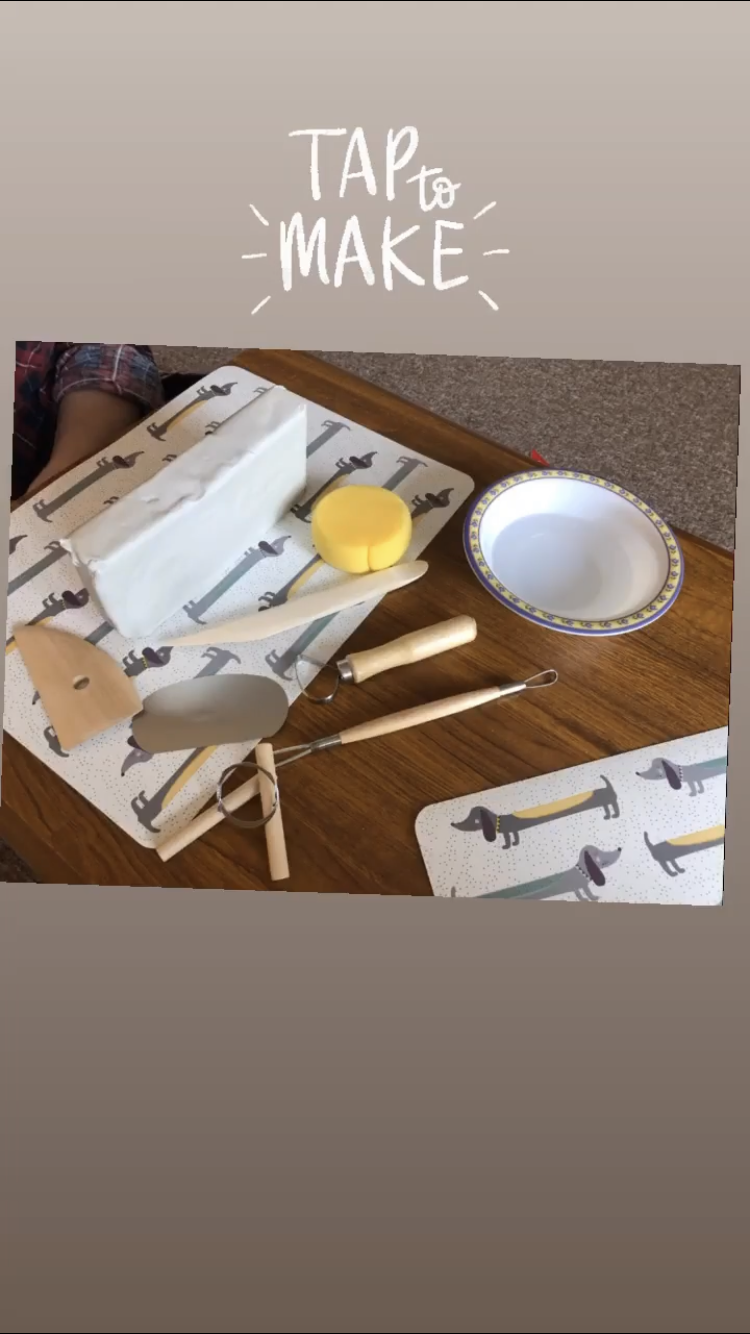
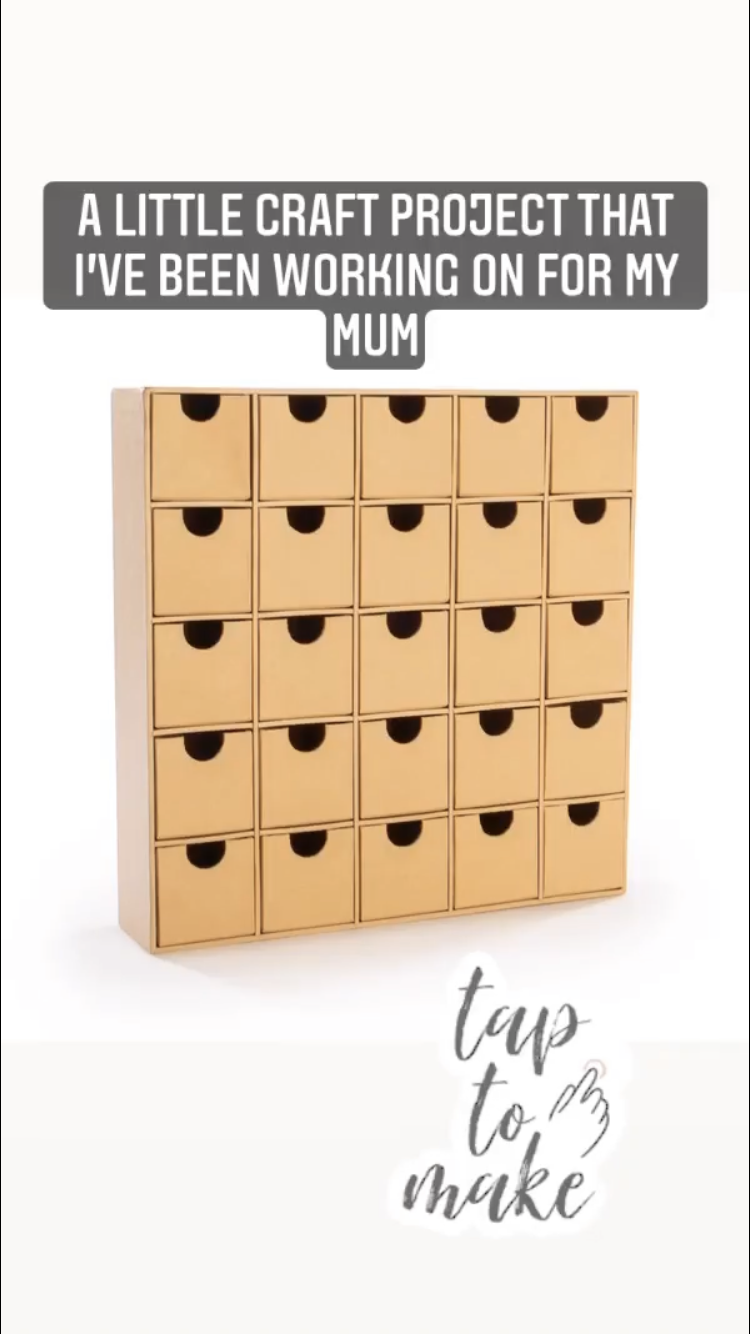
Hi friends! I feel like I start every post with 'sorry I haven't posted in a while', so I'm just going to stop doing that and get started with what I'm supposed to be saying... It's been a minute and lots has happened in the world. Instead of talking about that, lets talk about crafts! During lockdown 1.0 (I don't actually know what number we're on now) I discovered a love for creating things. I started off colouring and painting and then when we moved last May, I began making little things for the flat! I'm going to talk you through 5 of my favourite craft projects that have kept my mind busy and given me lots of cute little items! Mrs Hinch Stick Heart Project Just after we moved into our flat, Mrs Hinch was posting about her wall art made from sticks. It looked really easy and like something we could do together so we decided to give it a shot! We went to our local little park to collect the perfect sticks, and used cardboard from a moving box. You're meant to use hot glue but we didn't have a gun at this point so just used PVA (It worked fine!) And we bought a little tester tub of Johnstone's 'Ballet Slipper' paint from B&M. A very cheap project! What We Used Sticks from the park - £0.00 Carboard - £0.00 A Pencil Scissors Tape (any kind of tape will do) PVA Glue (B&M) £1.00 Tester tub of paint (B&M) £1.59 Total = £2.59 What We Did We drew half a love heart onto a square of cardboard with a pencil and cut that out as best we could. We then put the cut out piece on top of another square of cardboard and traced around it. Then cut around the second piece of cardboard to try and make them even. We stuck our two halves of cardboard heart together with tape on both sides. After that, we stuck sticks around the outside with PVA glue to make the outline of the heart, and then put the sticks wherever looked right in the middle. We cut the edges off some, although we didn't have to do this with many. Once we decided on their positions we stuck them down. We did a little bit each day and collected more sticks as we went. Once we were happy that the heart was filled with sticks, we painted it with our tester tub of paint. I think we did about 3 coats leaving it to dry in-between. To hang it, we just carved a little hole out of the back with a knife then hung it on a nail! Seasonal Wreath Projects During Autumn last year, I decided I wanted to make an 'Autumn' wreath with leaves and flowers. I had a look online and decided to go into Hobbycraft as they seemed to have lots of different kinds of plain wreaths. I bought a big orange flower from The Range, along with some tiny pine cones. Then I ordered skeleton leaves and synthetic maple leaves from Ebay. I loved finding all the wee bits and bobs and while in Hobbycraft, I also got myself a pink hot glue gun (win!) What I Used Rattan Grapevine Wreath 30.5cm (HobbyCraft) - £4.00 Orange Flower (The Range) - £1.50 Mini Pine Cones (The Range) - £0.69 Skeleton Leaves (Ebay) - £2.00 Synthetic Maple Leaves (Ebay) - £3.00 Hot Glue Gun + Refills (HobbyCraft) - £5.00 Scissors Total = £16.19 (Expensive because I bought my glue gun, but if you already have one this will be a cheaper project! You could probably also use PVA but the wee bits are fiddly thats why I went for hot glue) What I Did I pulled the petals out of the orange flower and stuck these around the back of the wreath to give it more depth. I then stuck on the maple leaves around the front in alternating colours. Then I layered the skeleton leaves on top and dotted the pine cones around. I literally just stuck everything down, made it look nice, and waited for it to dry! Before I even took the autumn wreath down, I knew I had to make a Christmas one! I did the same thing - bought a wreath from Hobbycraft, some bits and bobs from the range and some snow spray from B&M! I loved making the Christmas wreath and it hung on our door from November-January! What I Used Artificial Fir Christmas Wreath 46cm (HobbyCraft) - £5.00 Artificial Holly (The Range) £1.00 Mini Pine Cones (The Range) - £0.69 Artificial Robin (The Range) - £0.69 Snow Spray (B&M) - £2.00 Hot Glue Gun Scissors Total = £7.38 What I Did First I twisted the artificial fir in a circle so it was all neat and facing the same way. Then I pulled apart the holly leaves/berries and stuck them around the wreath. I dotted the pine cones around and then chose a place for the robin! I then sprayed the whole thing with some snow spray for extra effect! Waited for it to dry then swapped it with the Autumn Wreath. (I'm definitely going to make a 'spring' wreath next! Suggestions welcome!) Coffee Vase Project I've discovered I find it hard to throw out glass jars... Renee absolutely hates this newfound trait and she hears the words 'No, we could definitely use that for something' on the daily... I decided the shape of this jar of coffee would make a great vase, so I went for it! What I Used Empty Alcafe Coffee jar (From Aldi but I obviously had it in the house already) - £0.00 Leftover Johnstone's 'Ballet Slipper' tester pot (B&M But also already had it in the house) - £0.00 Sunflower Napkin (Tesco, but again, already had some) - £0.00 Clear drying PVA Glue (Had that in my house too, shock.) - £0.00 Total = £0.00 What I Did First I soaked the jar in boiling water to remove the glue from the label, then scrubbed off what was left. I dried it then painted it with a couple of coats of the tester paint (Inside and out). While it was drying, I carefully cut out the sunflower and bee shapes from the top layer of the napkin. I then decided where to put them (this bit took the longest), then I put clear-drying PVA glue on both sides and sort of pasted it on. Left to dry and voila!! I was obsessed with the fact that I made this for a long time (still am...) Boob Pot Birthday Project For my birthday this month, we obviously couldn't do anything exciting, so Renee said she had something fun planned for us to do at home! On the morning of my birthday she presented me with a block of clay and some tools! We decided almost straight away that we wanted to make little boob pots we've been talking about for so long! It was actually a lot harder than expected and both pairs of boobs are dodgy in their own way... It makes them unique?.. What We Used Das Modelling Clay (Amazon) - £6.00 (We used maybe a quarter of this on our two pots so £2.00 ish) Luter Clay Tools - (Amazon) £10.99 Acrylic paints (already had these at home) - £0.00 Paintbrushes (Also already had these) - £0.00 Bowl of water Total = £12.99 (Only an expensive project because of the tools!) What We Did We used one of the tools (sorry I don't know what they're called) to cut our blocks of clay. Then we made it into a sausage shape and pinched the edges to make a dip in the middle. We both had multiple tries because it was really hard to get the right depth! We then used the tools and water to smooth out any cracks. We made our little boobs and scored the clay to make sure they were stuck on. We left them to dry for a few days turning them over a couple of times. Once dry, we painted with red/white acrylic paint to get a pastel pink colour. These pots are very rough and only vaguely look like boobs, but we haven't done this before and I love them anyway x Advent Calendar Project For as long as I can remember, my mum has been filling a homemade advent calendar for me with little treasures and sweets. She loved putting time and effort into it during my childhood and I thought this year that I could repay the favour. I decided to buy a plain advent calendar box, decorate it and fill it for her to open each day of December! What I Used DIY Advent Calendar (Roov.com) - £7.49 Poster Paint (B&M) £2.00 Stick on Wreaths (HobbyCraft) - £1.00 Stick on Candy Canes (HobbyCraft) - £1.00 Advent Numbers (The Works) - £1.00 Paintbrushes - £0.00 Hot Glue Gun - £0.00 Snow Spray (B&M) - £2.00 Total = £14.49 ( & I spent about £3.50 filling the boxes) What I Did This project was the hardest and most stressful so far because I used the wrong kind of paint for the base! I used poster paint because that's all I could find in the colour I wanted, but it literally did NOT dry and my hands were permanently blue! Anyway, I painted the whole thing blue and waited (unsuccessfully) for it to dry. After blow-drying it and eventually wiping half of the paint off... I hand painted some snowflakes across the calendar with white acrylic paint I already had in the house (this dried much better!) After this was dry, I stuck my advent numbers on random boxes. I then stuck the little wreaths along the top and candy canes down the sides. Once it was all dry, I sprayed the whole thing with snow spray. I filled it with a mix of sparkly tea lights, Christmas scented wax melts, chocolates and candy canes. The stress (and blue paint) was worth it when I gave it to my mum and she was so surprised and grateful! She then texted me every morning of December to tell me what was in her advent calendar each day :) I hope you enjoyed reading about my little craft projects. I've got lots more happening at the moment so a part 2 might be needed! This year I'm planning on doing: a spring wreath, some pebble art, making my own spa products, making some birthday gifts for friends, and a scrapbook of my year in Australia. `
Watch this space! Let me know if you have any other ideas or if you make anything I've talked about! Lots of love, Sophy x
0 Comments
|